Expert Furniture Refinishing: Transforming Vintage Pieces
Furniture refinishing is more than just a hobby; it’s an art form that breathes new life into vintage pieces. Whether you have a cherished heirloom or a thrift store find, refinishing can transform these items into stunning focal points in your home. In this post, we will explore the ins and outs of furniture refinishing, including techniques, tools, and tips to help you achieve professional results.

Understanding Furniture Refinishing
Refinishing furniture involves stripping away old finishes, repairing damage, and applying new finishes to restore the piece’s original beauty. This process not only enhances the aesthetic appeal but also extends the life of the furniture. Here are some key aspects to consider:
Why Refinish Furniture?
Sustainability: Refinishing is an eco-friendly option that reduces waste by giving old furniture a new lease on life.
Cost-Effective: Instead of purchasing new furniture, refinishing allows you to revamp what you already own, saving money in the long run.
Customization: You can choose colors and finishes that match your personal style and home decor.
Common Types of Furniture to Refinish
Wooden Tables: Dining tables, coffee tables, and side tables can all benefit from refinishing.
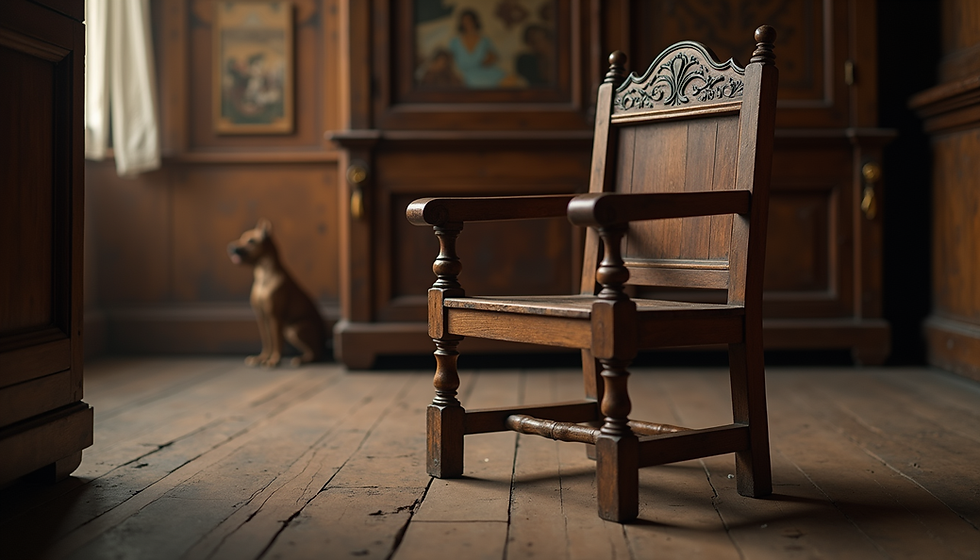
Chairs: Vintage chairs often have unique designs that can be highlighted through refinishing.
Dressers and Cabinets: These pieces can be transformed to fit modern aesthetics while preserving their vintage charm.
Tools and Materials Needed for Refinishing
Before diving into the refinishing process, it’s essential to gather the right tools and materials. Here’s a list to get you started:
Essential Tools
Sander: An electric sander will save time and effort when stripping old finishes.
Paint Stripper: A chemical paint stripper can help remove stubborn finishes.
Brushes and Rags: Use brushes for applying finishes and rags for cleaning and wiping down surfaces.
Protective Gear: Safety goggles, gloves, and a mask are crucial for protecting yourself from dust and chemicals.
Materials
Wood Stain: Choose a stain that complements the wood grain.
Sealant: A clear sealant will protect the finish and enhance durability.
Wood Filler: Use this to repair any cracks or holes in the wood.
Step-by-Step Guide to Refinishing Furniture
Now that you have your tools and materials ready, let’s walk through the refinishing process step by step.
Step 1: Prepare Your Workspace
Set up a well-ventilated area to work on your furniture. Lay down a drop cloth to protect your floors and gather all your tools and materials within reach.
Step 2: Clean the Furniture
Before starting, clean the furniture thoroughly to remove any dust, dirt, or grease. This ensures that the new finish adheres properly.
Step 3: Strip the Old Finish
Using a paint stripper, apply it to the surface of the furniture. Follow the manufacturer’s instructions for the best results. Once the old finish begins to bubble, use a scraper to remove it carefully.
Step 4: Sand the Surface
After stripping, sand the surface to smooth out any imperfections. Start with a coarse grit sandpaper and gradually move to a finer grit for a polished finish.
Step 5: Repair Any Damage
Inspect the furniture for any cracks or holes. Use wood filler to repair these areas, allowing it to dry completely before sanding it smooth.
Step 6: Stain the Wood
Apply your chosen wood stain with a brush or cloth, following the grain of the wood. Allow it to penetrate for a few minutes before wiping off the excess with a clean rag.
Step 7: Apply a Sealant
Once the stain is dry, apply a clear sealant to protect the finish. This can be done with a brush or spray, depending on the type of sealant you choose. Allow it to dry completely before using the furniture.
Tips for a Successful Refinishing Project
Test Stains: Always test your stain on a small, inconspicuous area to ensure you like the color before applying it to the entire piece.
Patience is Key: Allow each layer of stain and sealant to dry fully before moving on to the next step.
Keep it Simple: If you’re new to refinishing, start with a small piece to build your confidence before tackling larger items.
Common Mistakes to Avoid
Refinishing can be a rewarding experience, but there are common pitfalls to watch out for:
Skipping the Prep Work: Proper preparation is crucial for a successful finish. Don’t rush this step.
Using the Wrong Products: Make sure to choose products that are compatible with the type of wood you are working with.
Neglecting Safety: Always wear protective gear and work in a well-ventilated area to avoid inhaling harmful fumes.
Inspiration from Successful Projects
To motivate you on your refinishing journey, here are a few inspiring examples of transformed vintage furniture:
Example 1: The Rustic Dining Table
A worn-out dining table was stripped of its old finish and stained a rich walnut color. The result was a stunning centerpiece that became the heart of family gatherings.
Example 2: The Chic Vintage Chair
A vintage chair with a faded upholstery was refinished with a bright paint color and new fabric. This transformation turned a forgotten piece into a stylish accent in the living room.
Example 3: The Elegant Dresser
An old dresser was refinished with a soft gray stain and new hardware. This simple update gave the piece a modern touch while preserving its vintage charm.
Conclusion
Refinishing furniture is a fulfilling way to breathe new life into vintage pieces. With the right tools, techniques, and a bit of patience, you can transform worn-out furniture into beautiful, functional art. Whether you’re looking to save money, reduce waste, or simply express your creativity, furniture refinishing is a rewarding endeavor that can enhance your home’s aesthetic.
So, gather your tools, choose a piece to refinish, and start your journey toward creating something beautiful. Happy refinishing!

Comments